The Frankenlab
Part 1 of my homelab story, a cost-free machine built from hand-me-down parts and what I got from it.
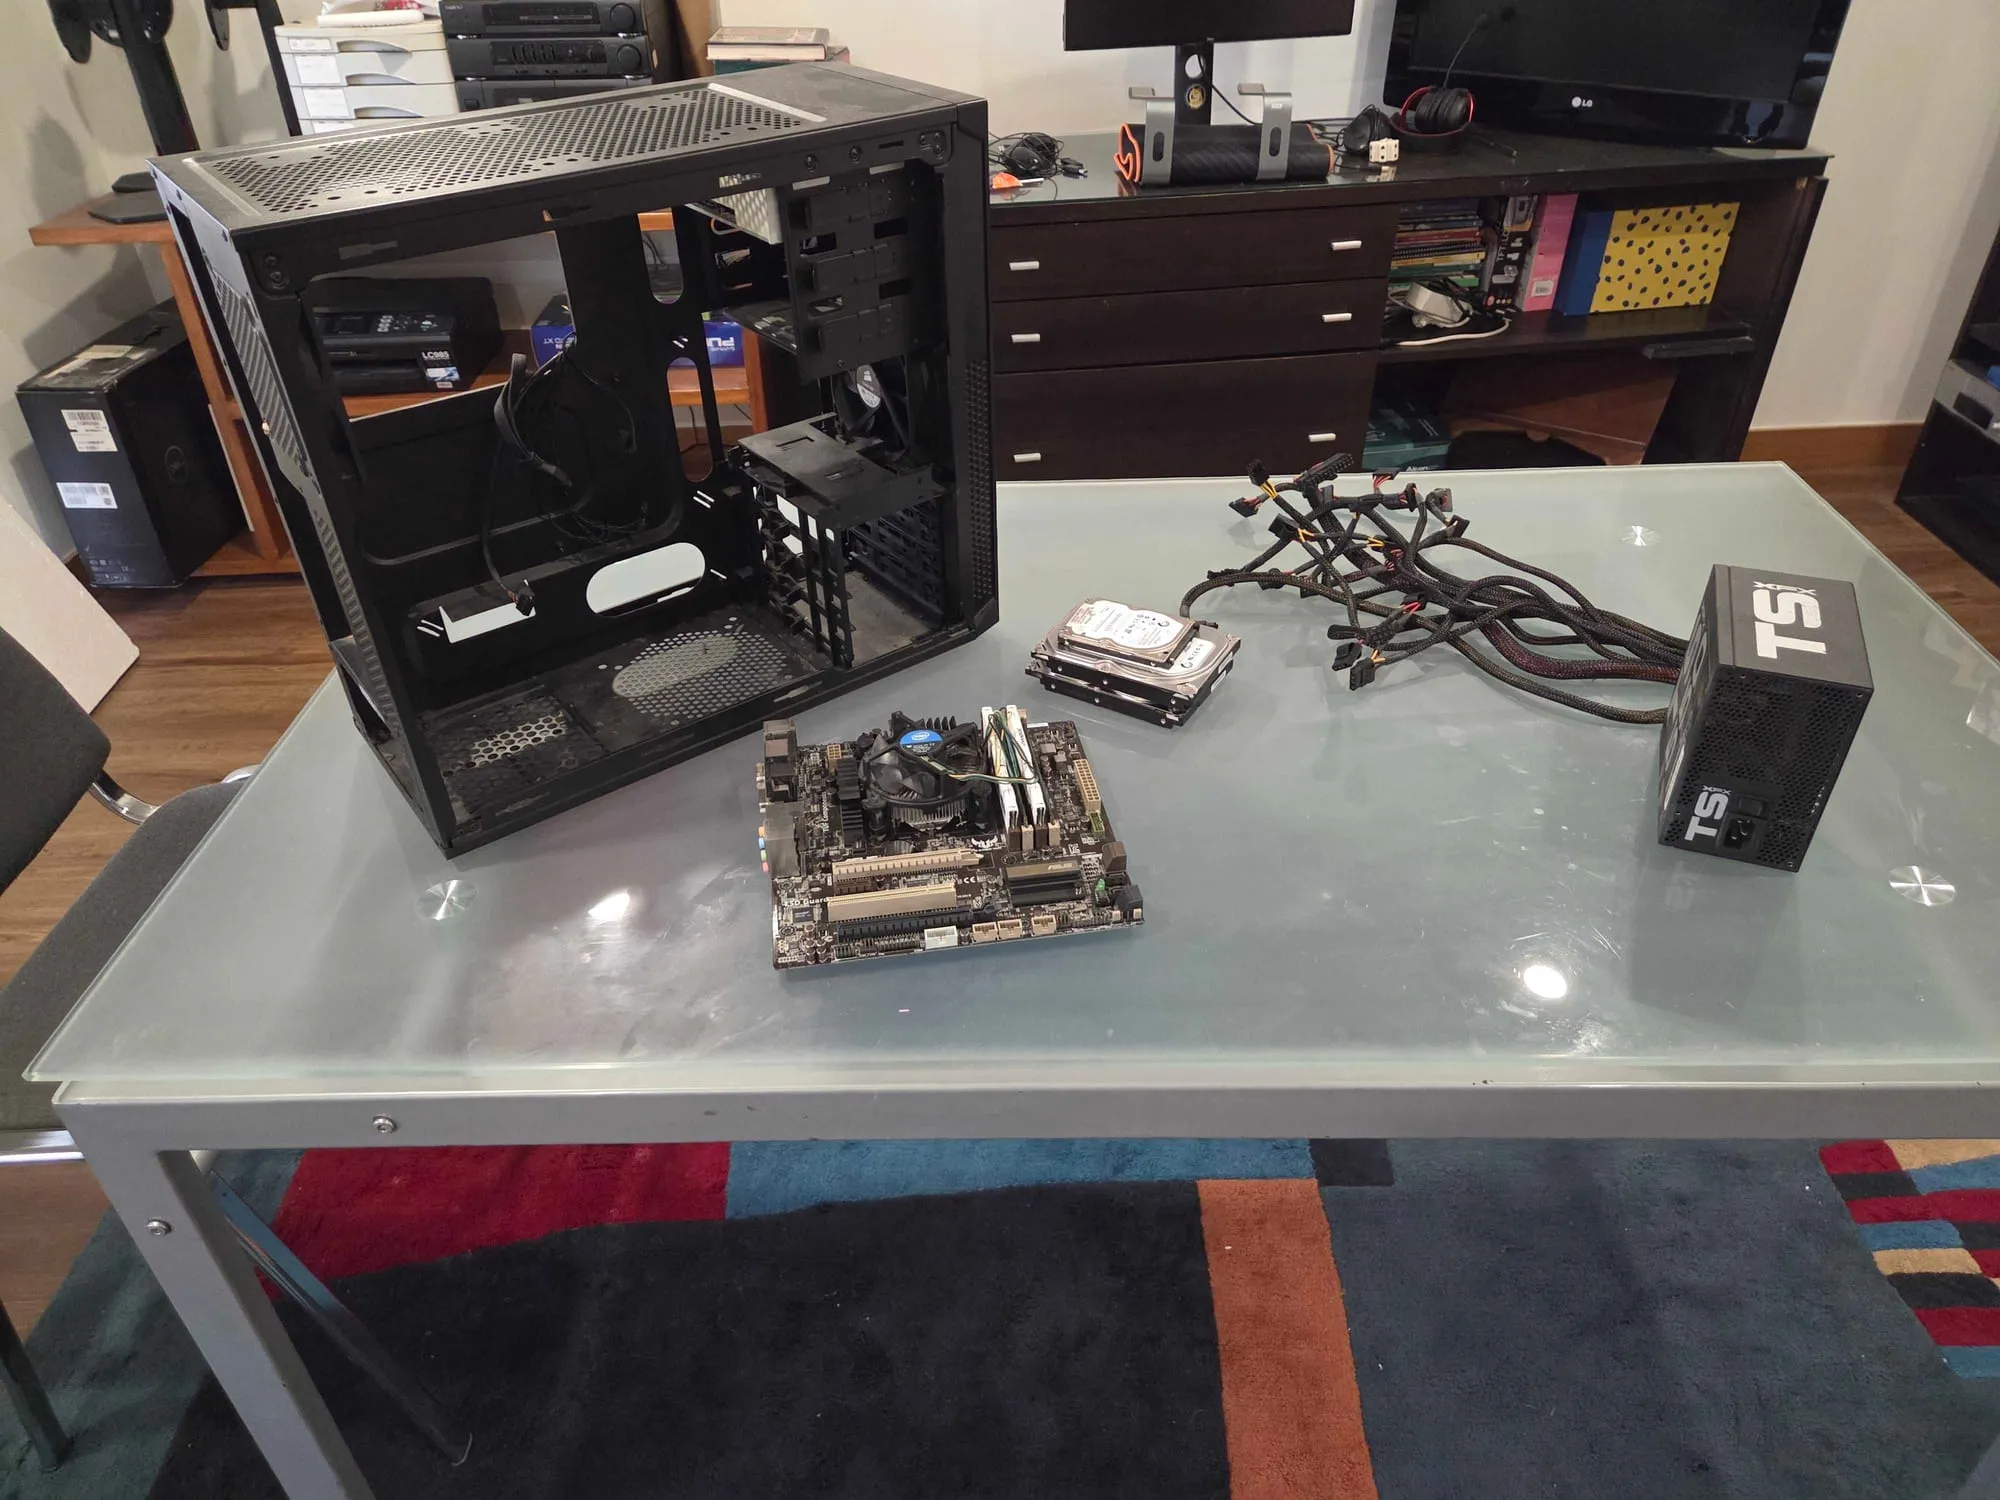
Every homelab starts with a question, and mine was a cheap one: would I even like this?
I didn’t want to buy anything to find out. So I built a server out of whatever I could get for free, and it ran for a year and a half. This is the story of that machine, which I called the Frankenlab.
This is part 1 of a short series. Later parts cover the machine that replaced it, how I run my media, how I connect everything together and how I keep it all alive.
Built from leftovers
The rule was simple: it had to cost 0 euros. Everything came from old machines, spare drawers and relatives who were happy to get rid of hardware.
| Part | What I had |
|---|---|
| CPU | Intel Core i5-4460: 4 cores, 4 threads |
| Motherboard | ASUS TUF Vanguard B85 |
| RAM | 12 GB in total: 2×4 GB HyperX, I think from around 2011, plus 2×2 GB from an old PC that came with Windows XP |
| Cooler | A spare from another machine that had barely been used |
| Storage | Two 500 GB SATA hard drives, one for Proxmox and one for media, downloads and everything else. One was a regular desktop drive, the other came out of a laptop |
| PSU | XFX TS 550, 80 Plus Bronze, more than 10 years old |
| Case | An old Corsair. The desktop it came from was a gaming PC back in the day, with a GTX 980 |
None of it matched, and almost all of it was ancient. It was very sketchy and yet it worked, and I thought it was beautiful. The power supply kept the server running for the entire year and a half, which is impressive for a 10-year-old Bronze unit, and nothing failed catastrophically. I did have to upgrade it in the end.
There were a few caveats, but nothing was a brick wall. The LAN card was the worst of it. It had serious issues with Proxmox and Linux in general, well documented by the community, and the network would hang. The fix was to turn off its hardware offloading:
# turn off the offloading features that made the network hang (eno1 is my onboard NIC)
ethtool -K eno1 gso off gro off tso off tx off rx off

# check that offloading is really off
ethtool -k eno1 | grep offload
I ran that from a small script, so it survived reboots, and from then on it mostly worked.
Everything in a VM
I installed Proxmox and put everything in virtual machines. Almost all of them ran Alpine Linux, because I wanted them as small as possible, and most of those ran Docker, so I could stack related apps together.
It sounds silly: Alpine on the VM, Docker in the middle, and then Alpine again inside most of the containers. Apart from sounding weird, I don’t think I ever hit many problems with it.
A few things got a VM of their own because they were better off that way. The main one was storage. I ran OpenMediaVault in its own VM to manage the media disk and shared it over the network. Then I mounted those shares on my other VMs and on my desktop, laptop and phone, so I could manage the media from anywhere in the house.
Because I ran VMs exclusively, I almost never opened the Proxmox web interface. I preferred to SSH into each machine and work from the terminal, and for that I loved MobaXterm, an SSH client for Windows.
What it ran
It ended up doing quite a lot for 12 GB of mismatched RAM.
Media. I started with Plex for streaming, plus home video storage and the usual media automation stack. Later I started playing with Jellyfin. I never really used it on this server, though, and stayed on Plex until I took the machine apart.
Music. Soulseek, for sharing and finding music. I loved this project and the community behind it, and its mission of sharing the music we love. It’s one application I’ll keep running in every lab I build, for as long as I can.
Notes and recipes. I used Mealie a lot for recipes. I also experimented with Nextcloud, but never used it much. My Obsidian vault was linked to GitHub, which meant syncing my work laptop and my personal laptop by hand. I later moved to a proper self-hosted Obsidian setup that syncs on its own, which was a big step up.
Access. I used Tailscale as my home VPN for getting in from outside.
Getting it onto the internet
This part was very hands-on. A small VM ran dnsmasq, which my router pointed to for DNS. An nginx reverse proxy routed each domain to the right service. For the public side, I used a free domain from deSEC, with public DNS pointing at my home connection and a couple of ports forwarded on the router.
Only a few services were public: Plex, Seerr and Komga. Everything else stayed inside the house.
It worked, and I learned a lot by building it by hand. It also taught me that exposing a home connection to the internet is something you should do with a lot more care than I did back then. The way I do it now is very different, and I’ll cover it in a later part.
What it taught me
It answered my question: yes, I liked this, a lot. This is a hobby that will take my money, my time and, at times, my sanity. But the feeling of self-reliance is like no other. I was hooked.
It also showed me which parts I cared about. I never wanted many fancy features. I wanted media that was easy to watch, files I could reach from any device and a place to safely experiment and play around with networking, apps and more. Almost every decision I made when I built the next lab came from this one.
Where it ended
The Frankenlab was eventually dismantled, and it was never really the hardware’s fault. 4 threads, 12 GB of RAM and 500 GB disks only go so far. For what I asked of it, it was enough, but I’d outgrown it: the small issues kept piling up, and the i5-4460 has no hardware support for newer media codecs like HEVC.
My main gaming rig was already 8 years old at that point, and I saw the perfect opportunity to repurpose its components into a new lab. A 1 TB drive from that rig was meant to join the Frankenlab, but it came out on the same day I dismantled both machines, so it never got its turn here.
With hardware prices starting to go up, mid to late 2025 was also the right time to buy some serious parts for a new gaming rig, reuse what I could for the new lab, and then some more.
In the next part I’ll cover its replacement: a much more serious machine, and the decisions that shaped it.
Gallery
A closer look
In this series
Homelab
The story of my homelab, from a zero-euro pile of spare parts to the machine I run today.
- 1The FrankenlabYou are here
- 2The Rebuild
- 3The Media Stack
- 4The Infrastructure
- 5Keeping It Alive